Firelight
Overlay Instructions
with Nicole S. Young
Applying Firelight Overlays in Photoshop
The Firelight overlay pack comes with JPEG files that can be used in Photoshop, Photoshop Elements, and any other photo application that allows you to work in layers and blending modes. In this example I will be demonstrating how to apply these presets in Photoshop, but these same techniques can be easily adapted and applied using other applications.
To learn how to install and apply presets in Luminar and ON1 Photo RAW, please view the Nicolesy preset installation instructions documentation.
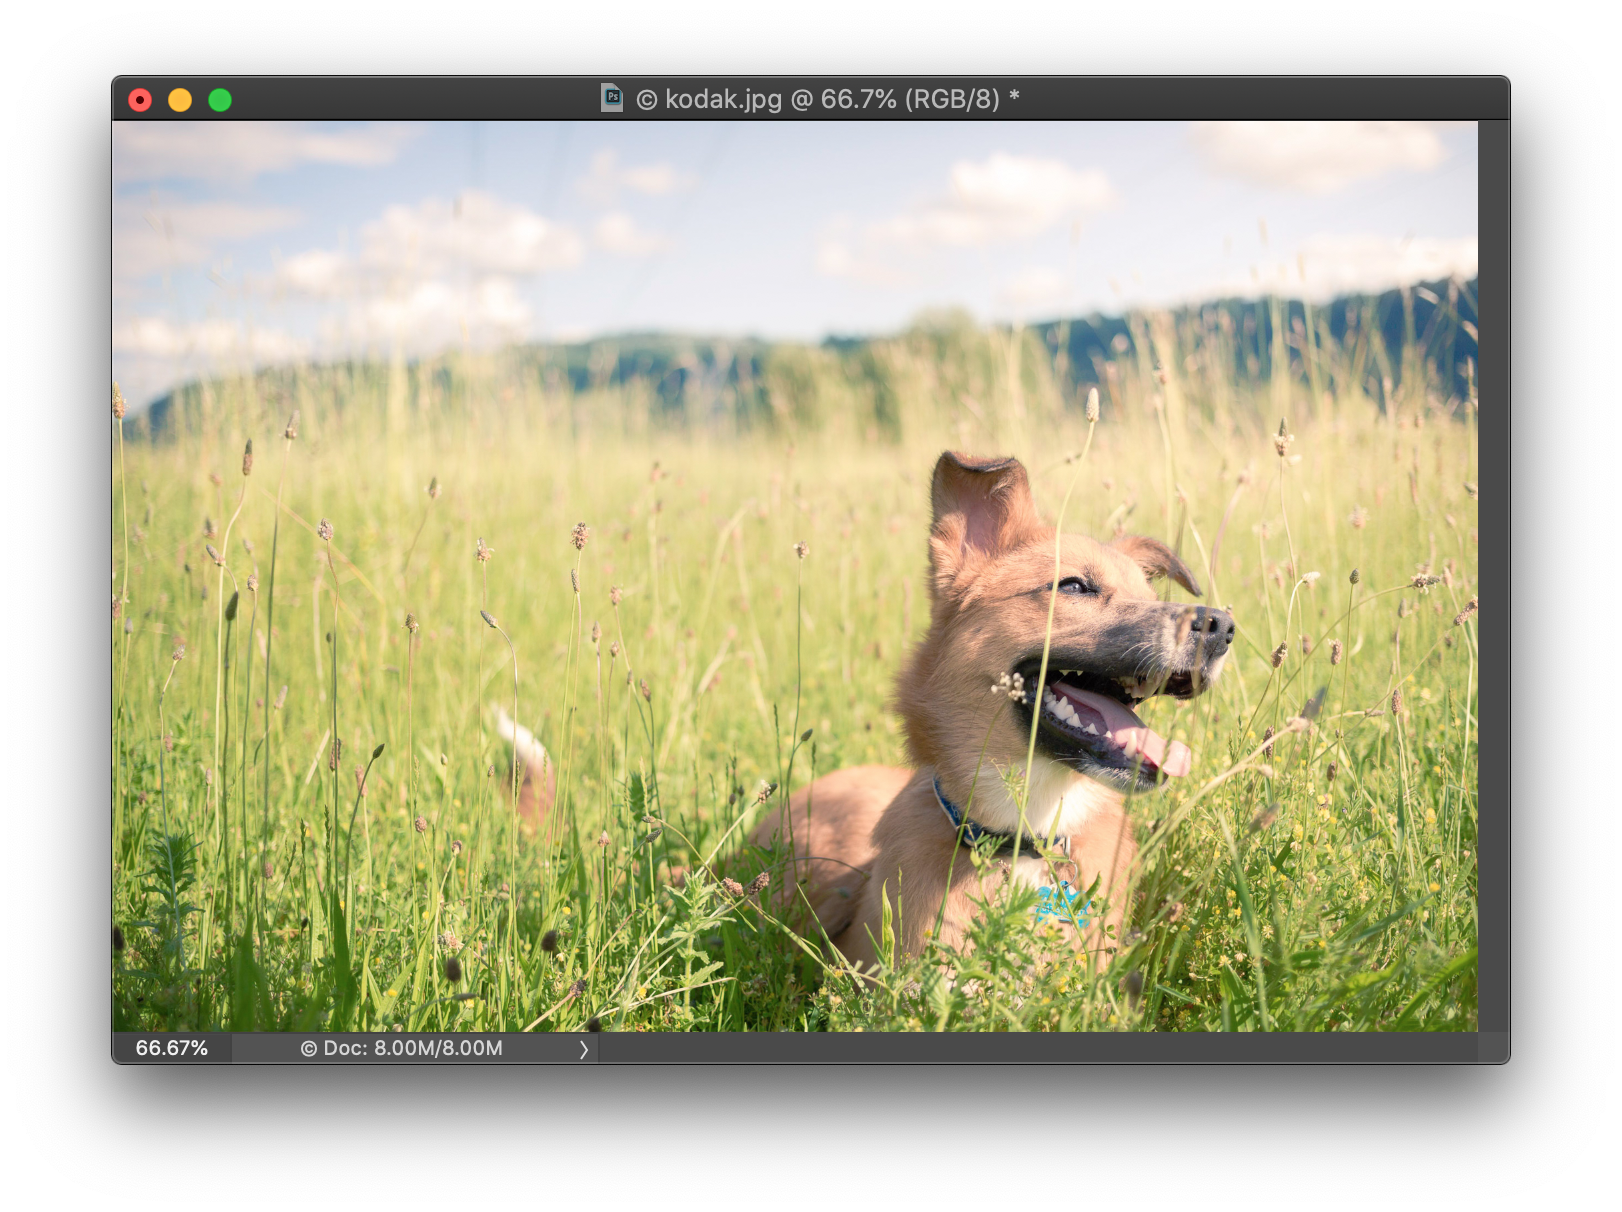
Open a photo into Photoshop.
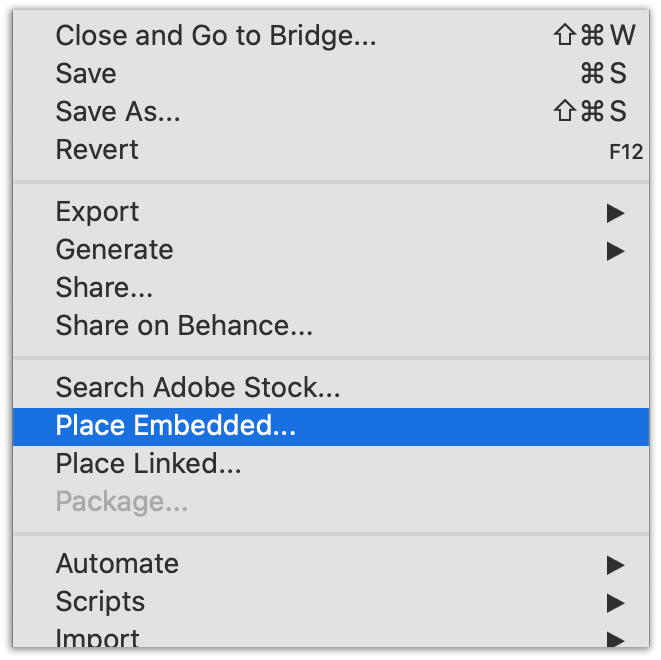
Next, add one of the Firelight JPEG files to your image. You can do this by either dragging and dropping the file from the folder directly over the image, or by going to File > Place Emebedded in the menu.
When adding the file, you may see a large blue “X” across the image. This means that the file can be transformed and needs to be committed to your layers panel.
To do this, first resize the image (as necessary) so that it covers the entire area of the image:
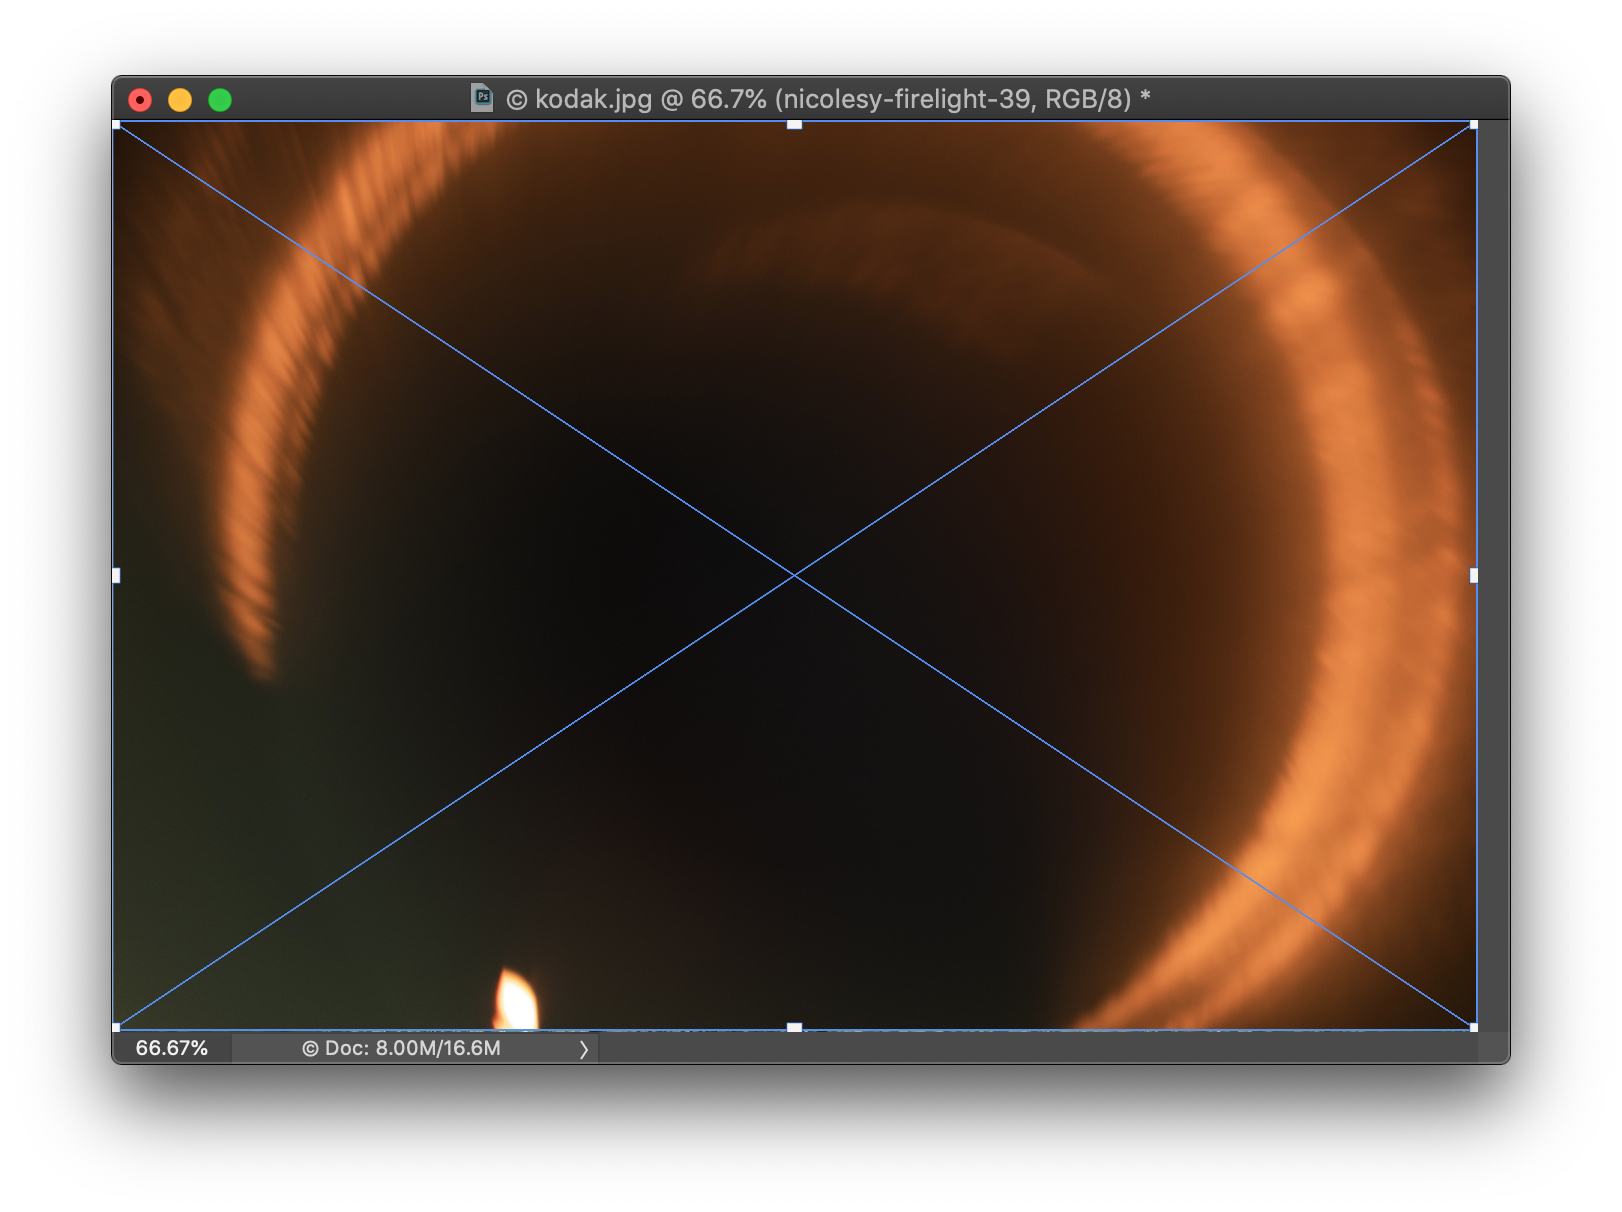
Then, press the RETURN or ENTER key on your keyboard to apply/commit the file to your document. (The blue “X” will go away.)
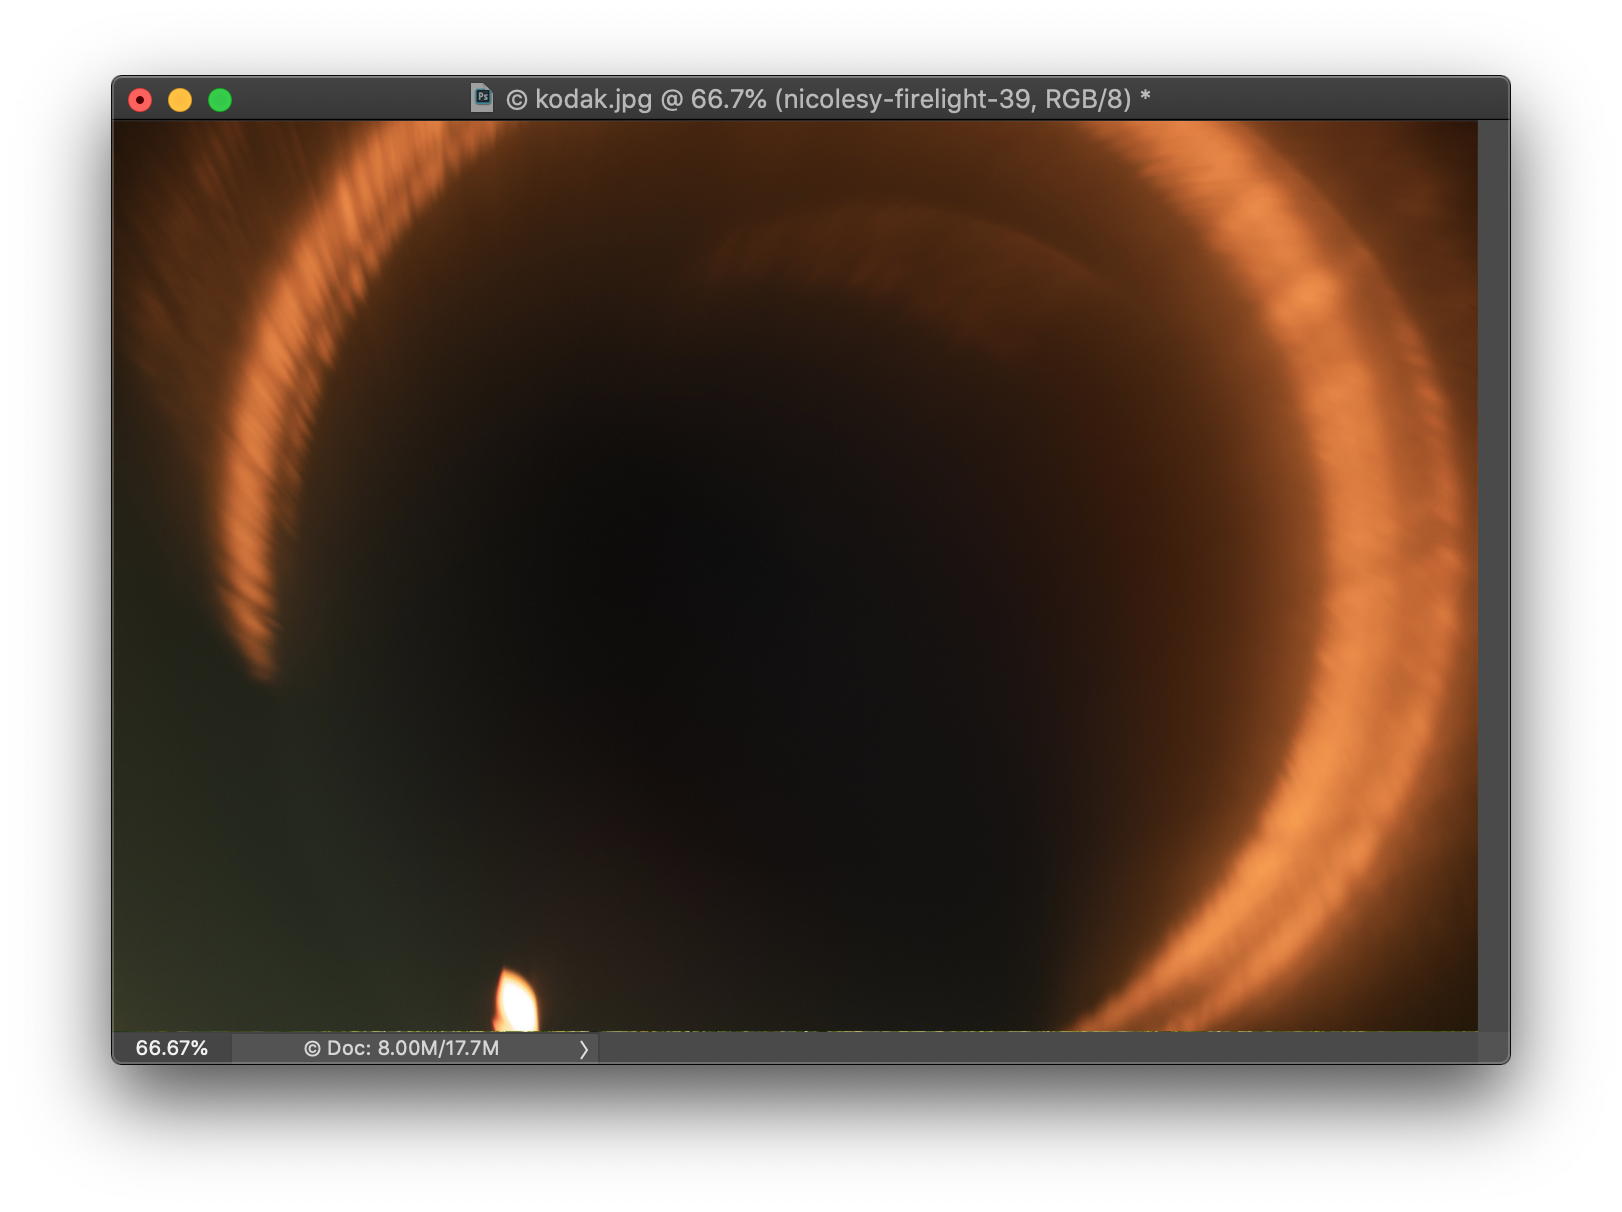
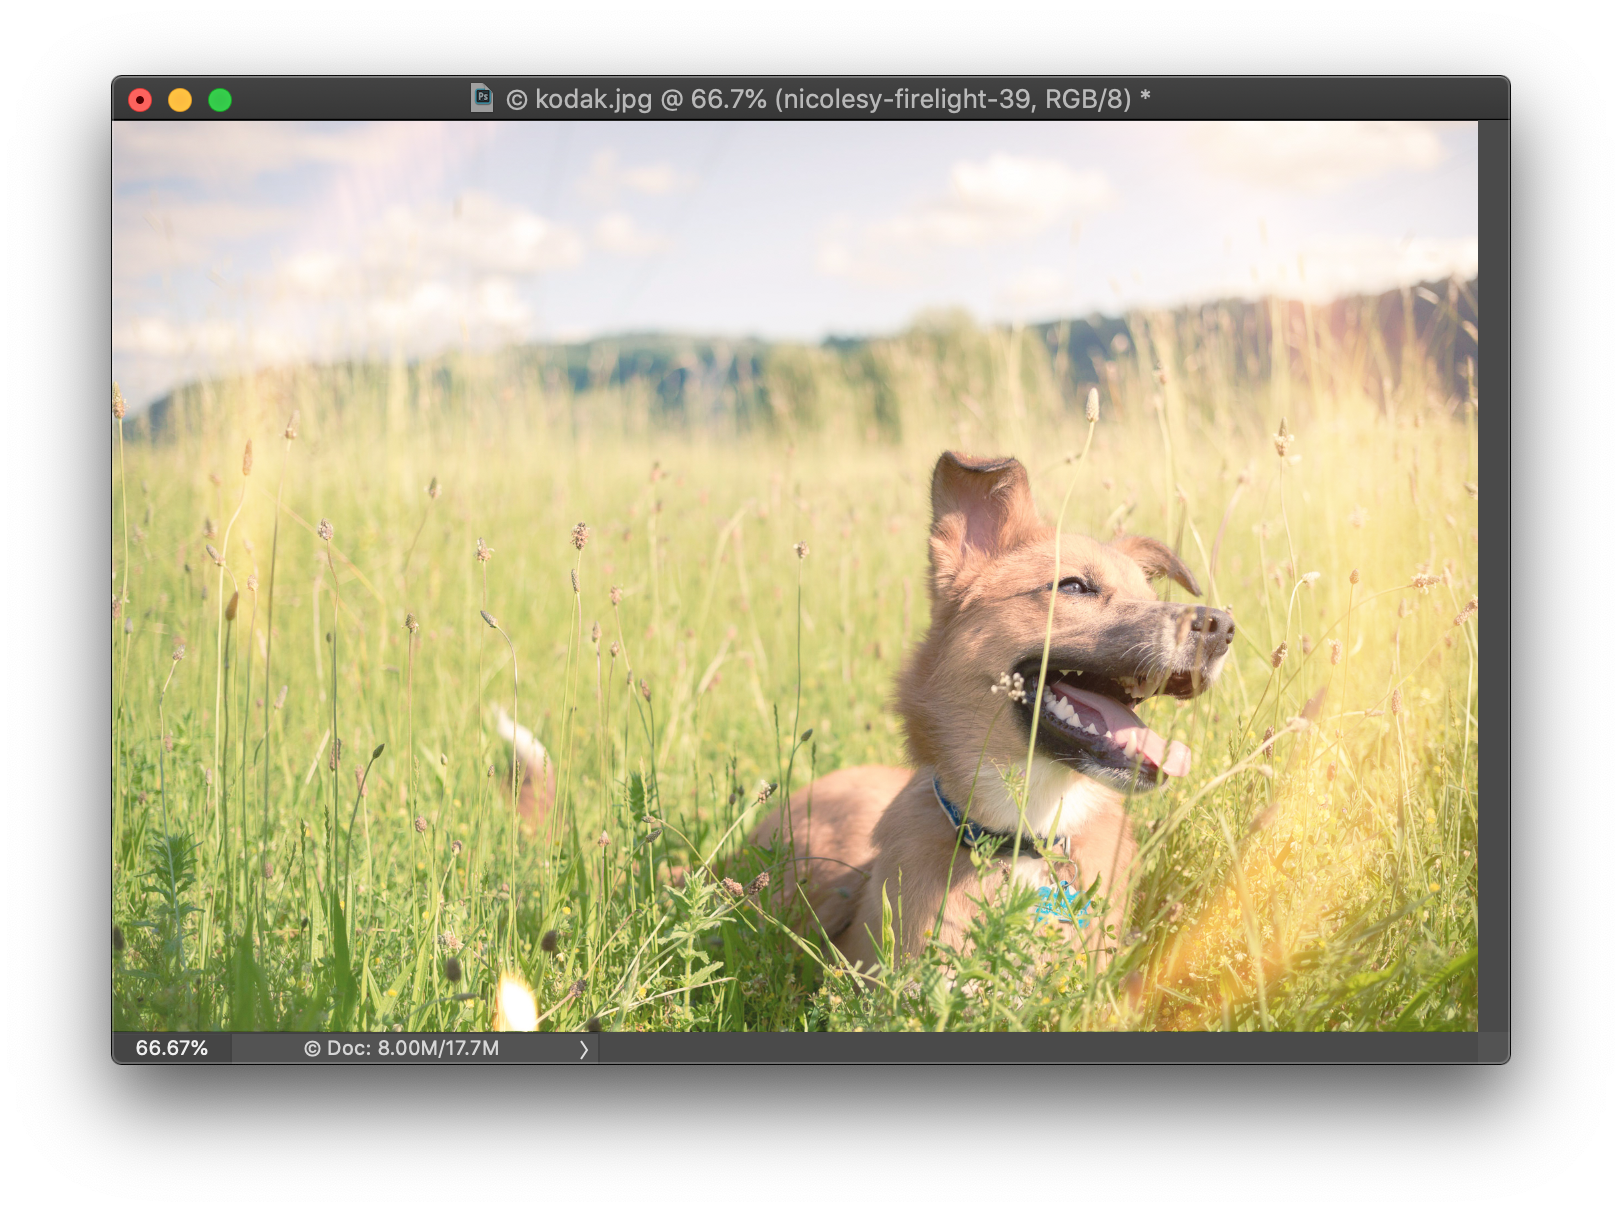
Finally, it’s time to blend the Firelight file with your image:
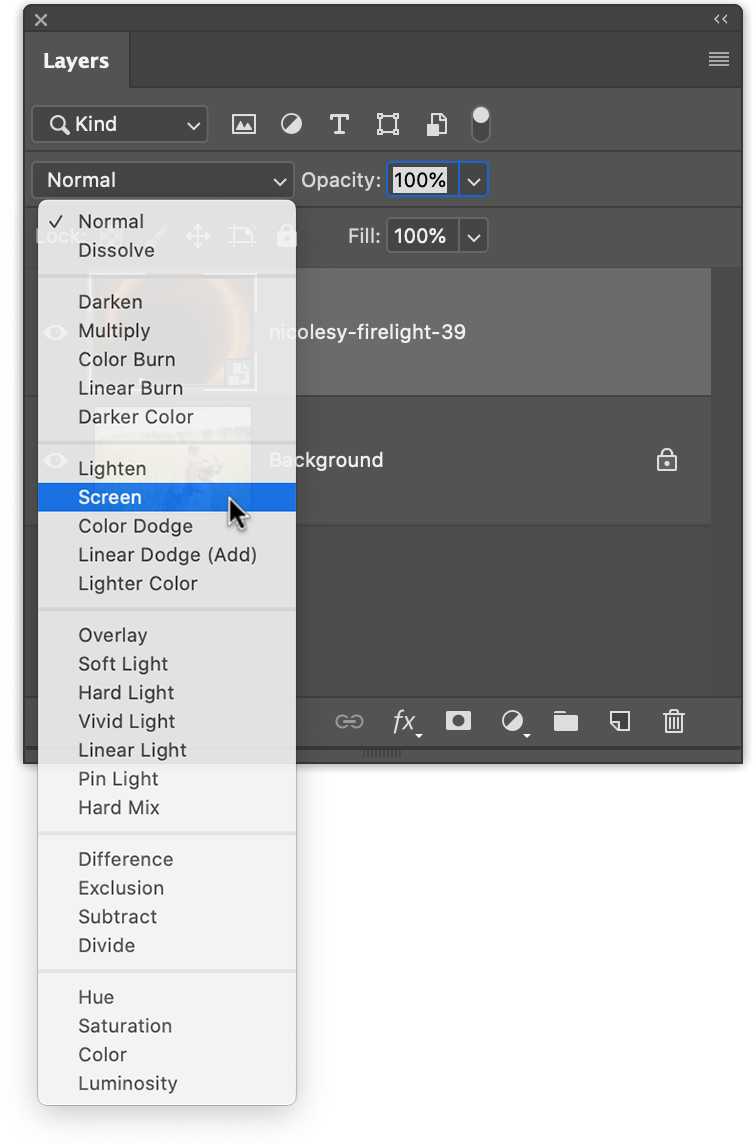
- To do this, go to the Layers panel (if you don’t see the Layers panel, go to Window > Layers to make it visible).
- Next, use the blending drop-down in the Layers panel, and change the blending mode to “Screen”.
- The image will now show only the bright parts of the Firelight overlay and blend with your original image.