
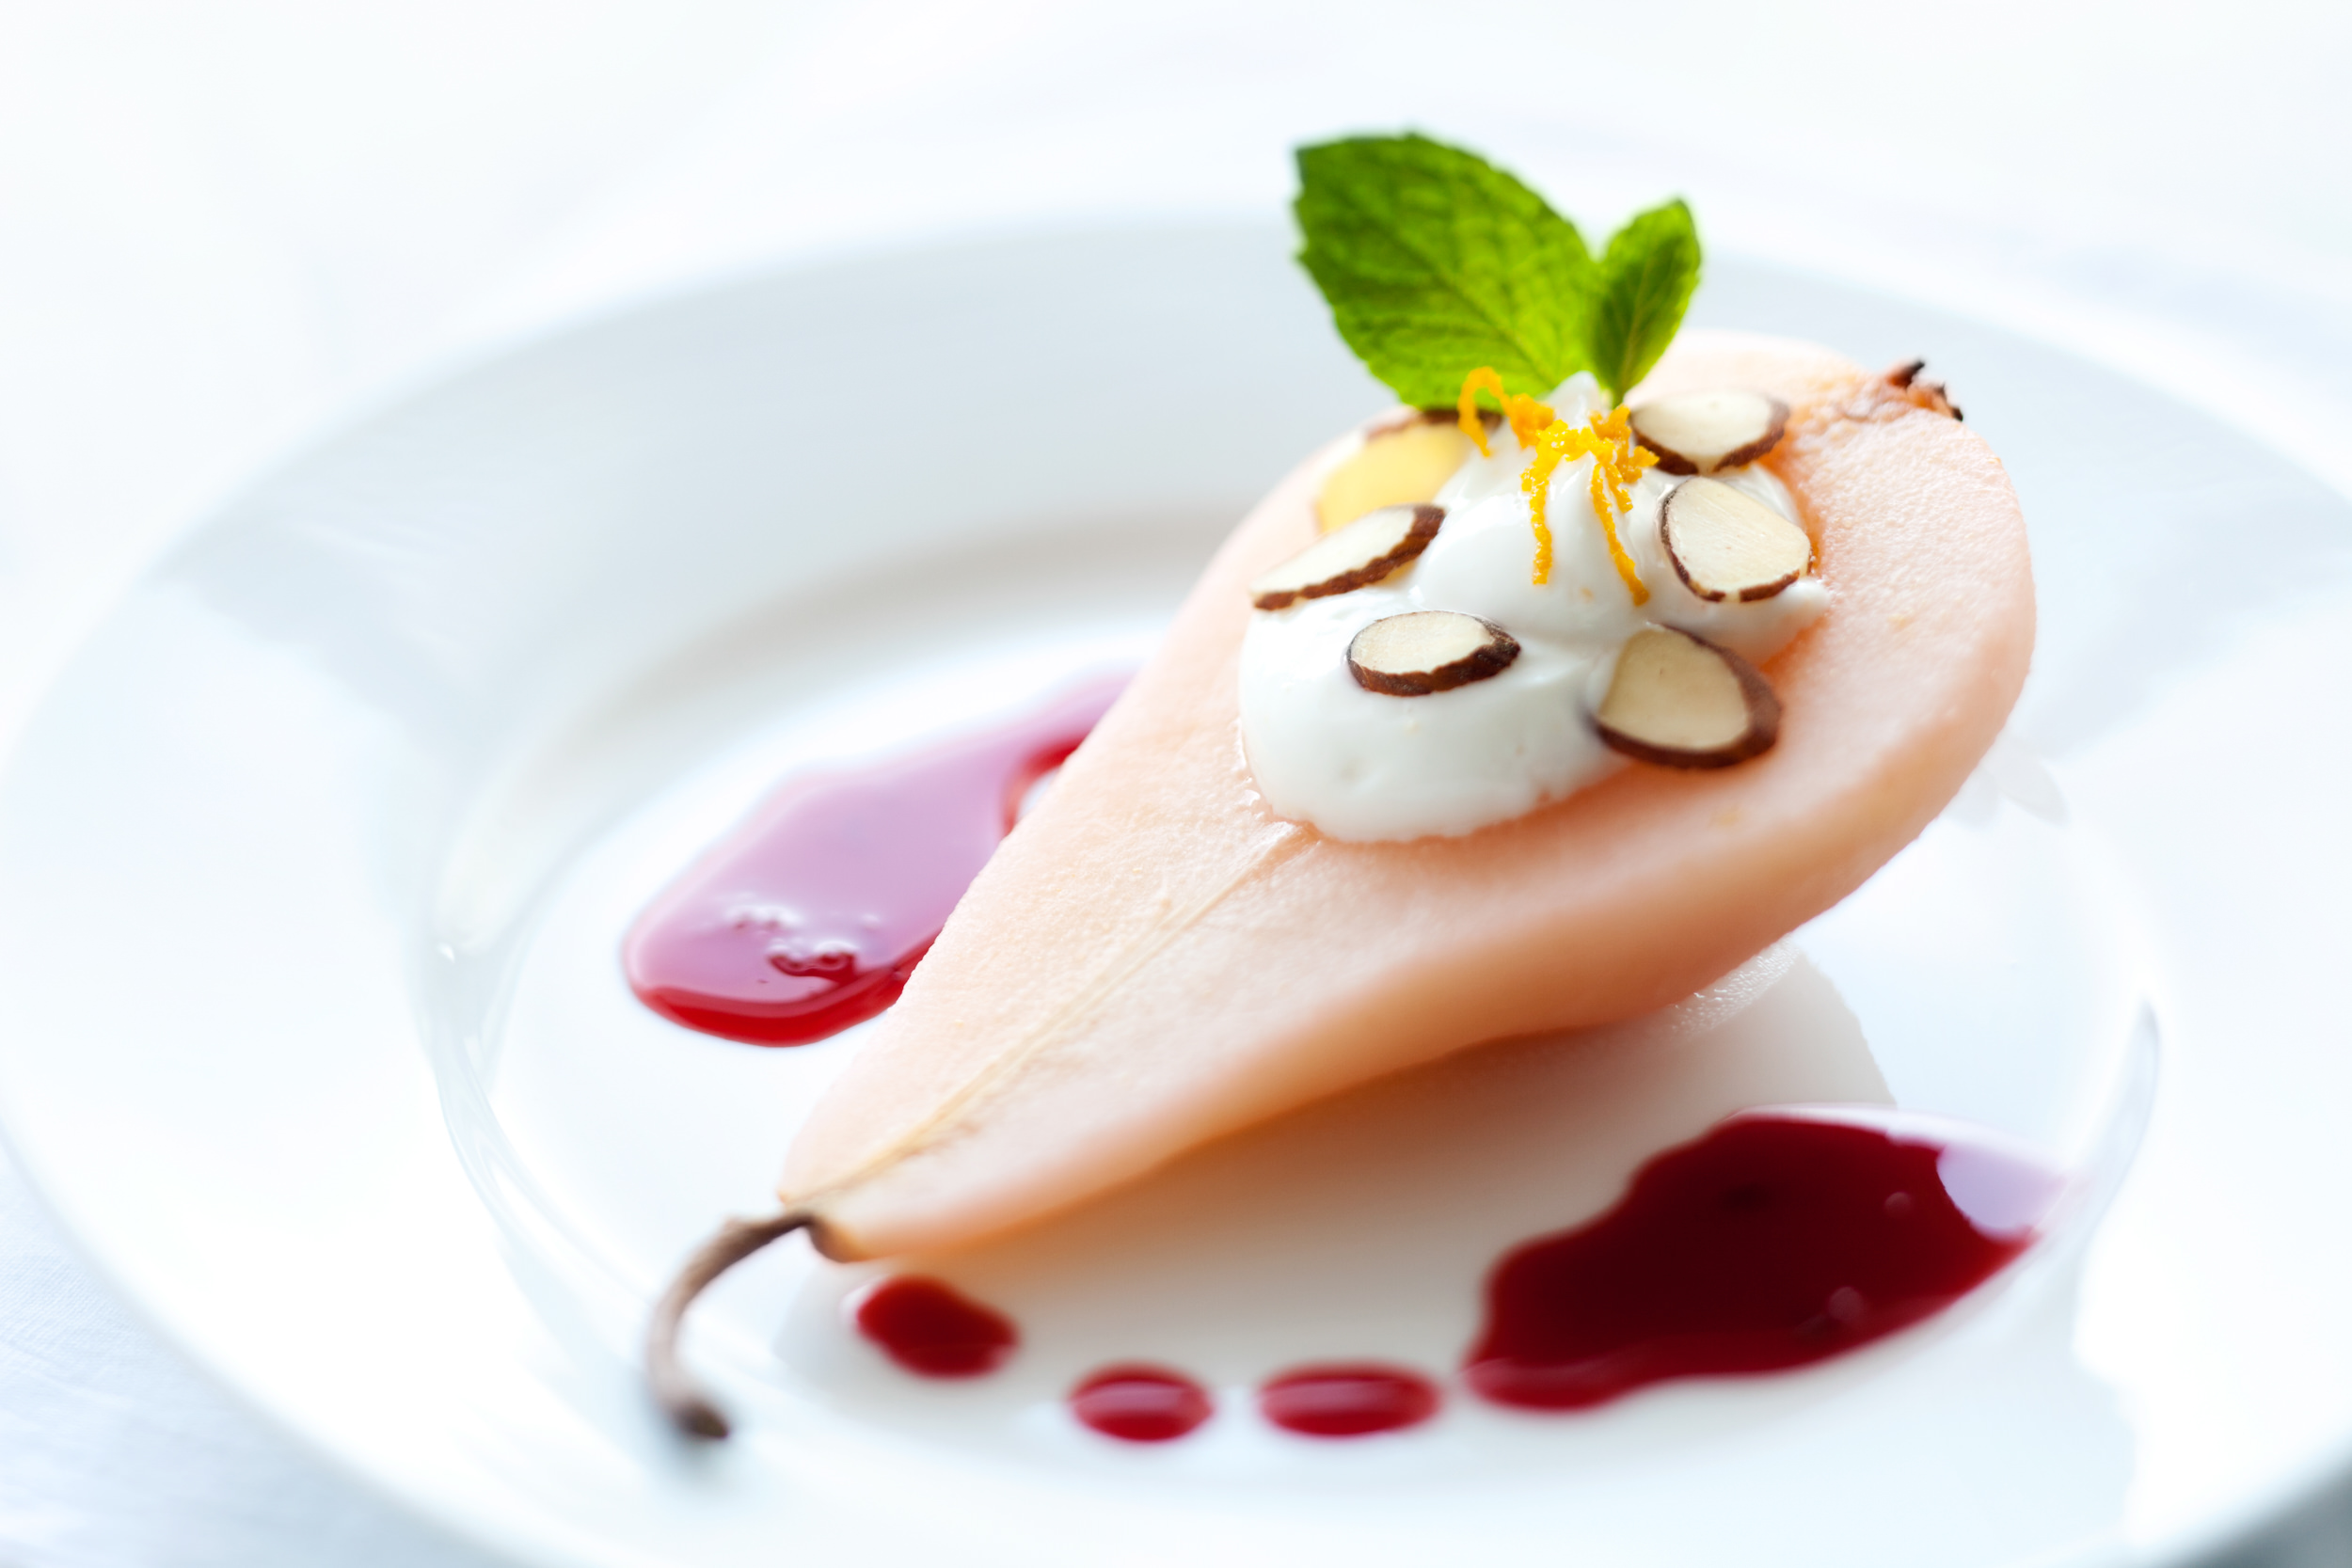
On a recent episode of “The Biggest Loser” they showed how to prepare this dish, and it looked really freaking good (and, btw, it is!) So, I decided to cook and photograph it cause it looked so pretty. I made a few changes … I didn’t cut the pear up to serve it, and I used blood oranges plus some added regular orange juice for the sauce.
The lighting setup was a simple window-light setup with a white foam-core board to the left to add a bit more fill on the back/side of the pear. I’m also testing out a 90mm tilt-shift lens from BorrowLenses; I’ll post more on how I like the lens the more I get to use it. So, if you want to experience the deliciousness of healthily-prepared poached pears, here’s the recipe!
Recipe: Cider-Poached Pears with Yogurt and Toasted Almonds
Source: NBC.com
Ingredients:
- 1 cup apple cider
- 1 orange, juice (approx 1/2 cup) of and zest divided (1 teaspoon grated and peel)
- 1 vanilla pod, split lengthways
- 1 cinnamon stick
- 2 star anise
- 2 pears, peeled, halved and cores removed with Parisian scoop (melon baller)
- 1/2 cup nonfat Greek yogurt
- 1 teaspoon orange zest
- 1-1/2 tablespoons sliced and toasted almonds
Method:
- Bring first five ingredients to a boil.
- Add the pears and cook at a gentle simmer for 10-20 minutes or until a paring knife inserted into the pears meets a little resistance. Cooking time will be determined by the ripeness of the pears.
- Remove from heat and allow pears to cool in the poaching liquid.
- Once cool, remove pears from liquid and set aside.
- Return poaching liquid to medium heat and reduce to a glaze.
- In small bowl, combine yogurt with remaining orange zest.
- To serve, slice the pears in quarters from top to bottom, place in the center of four serving plates, spoon over some yogurt and top with toasted almonds.

Nicole is a photographer, published author, and educator specializing in Lightroom, Photoshop, and photography. She is best known for her books on food photography but is widely versed in various photographic genres, including landscape, nature, stock, travel, and experimental imagery.


looks delicious!
Hi, Nicole
I’m following you from a while, you are making great work with all that tutorials and your photography is really amazing!
The pic and the recipe are wonderful, but what really interest me is your opinion and experience with that lens – I’m thinking of getting one and it will be very helpful to me to see what you’ve done with it :-)
all my best – Lois
Stunning!