How to merge panoramas in Lightroom
Learn how to merge panorama photos in three steps using Lightroom. (This tutorial shows the technique using Lightroom Classic, but the process is nearly identical in Lightroom CC). But before creating [...]

Learn how to merge panorama photos in three steps using Lightroom. (This tutorial shows the technique using Lightroom Classic, but the process is nearly identical in Lightroom CC). But before creating [...]
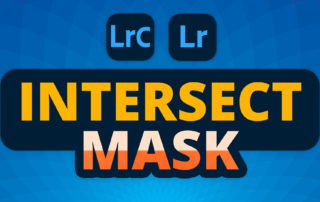
The intersect feature in Lightroom and Lightroom Classic allows you to combine two or more masks, and wherever they overlap is the area your mask is created. It's a very useful [...]

Radiant Photo is a brand-new photography processing application on the market, set to release very soon. I've been able to work with it for the past month and wanted to share [...]
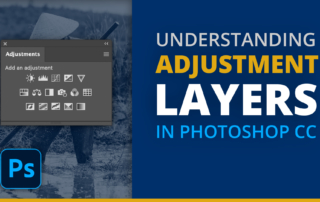
Adjustment layers in Photoshop allow you to add image adjustments to your photos while keeping the photo edited non-destructively. They allow you more flexibility with editing your photos when compared with [...]

Duplicating masks in Photoshop can be a quick and easy way to re-use the same mask for a different effect. This works especially well with complicated masks that would be difficult [...]
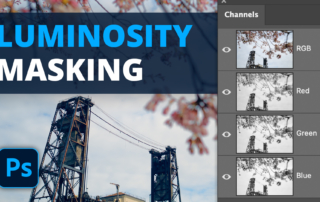
Luminosity masking is one of the most-requested tutorials that I receive. In this article and video, I'll be showing you how to create luminosity masking in Photoshop using channels. What is [...]
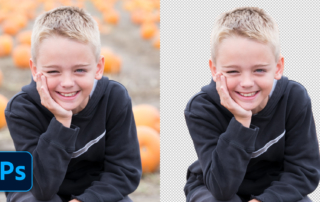
I can remember when masking in Photoshop was a chore. After all, I've been using the program for over 25 years, and it used to be a lot more involved. There [...]
Nicoles S. Young is a photographer and entrepreneur who teaches photography and post-processing full-time here on her website and also throughout the photography industry.
Go here to read more.
Menu
© 2005 – 2024 Nicolesy, Inc | Terms of Service | Refund Policy | Privacy Policy

