Choosing Software for Sky Replacement
If you photograph landscapes, or anything with a sky, you're very much aware that the weather does not always cooperate. Whether (no pun intended) it's a bright blue sky with no [...]

If you photograph landscapes, or anything with a sky, you're very much aware that the weather does not always cooperate. Whether (no pun intended) it's a bright blue sky with no [...]
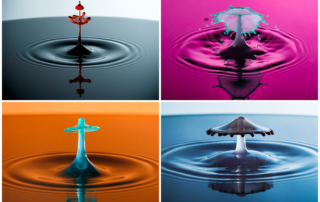
High dynamic range photography, also known as HDR, is a great way to create a photograph and retain as much detail in the highlights and shadows as possible. In its early years, [...]
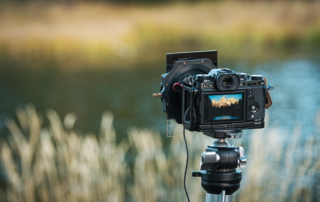
Note: This article contains affiliate links. A few years back I purchased the Pluto Trigger, a device that connects to a camera to automatically trigger the camera, depending on what you [...]
I've been a Luminar user for several years, and have developed my own style of post-processing with it. Oftentimes, I find myself gravitating to many of the same tools over and [...]
When learning a new craft, mistakes are how you learn. But sometimes it's nice to have insight on these mistakes so you can avoid them (or at least can keep them in [...]
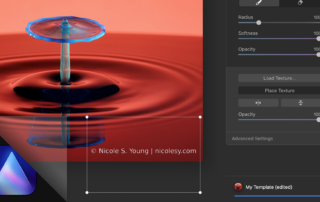
If you use Luminar AI and would like to add your own text, logo, or signature watermark, it's easy to do using the Texture tool in Local Masking. In this tutorial, I [...]
Luminar AI works as a standalone program, but it also works well as a plugin, and I will oftentimes use it after editing photos from Lightroom or Photoshop. In this article, I [...]
Nicoles S. Young is a photographer and entrepreneur who teaches photography and post-processing full-time here on her website and also throughout the photography industry.
Go here to read more.
Menu
© 2005 – 2024 Nicolesy, Inc | Terms of Service | Refund Policy | Privacy Policy