
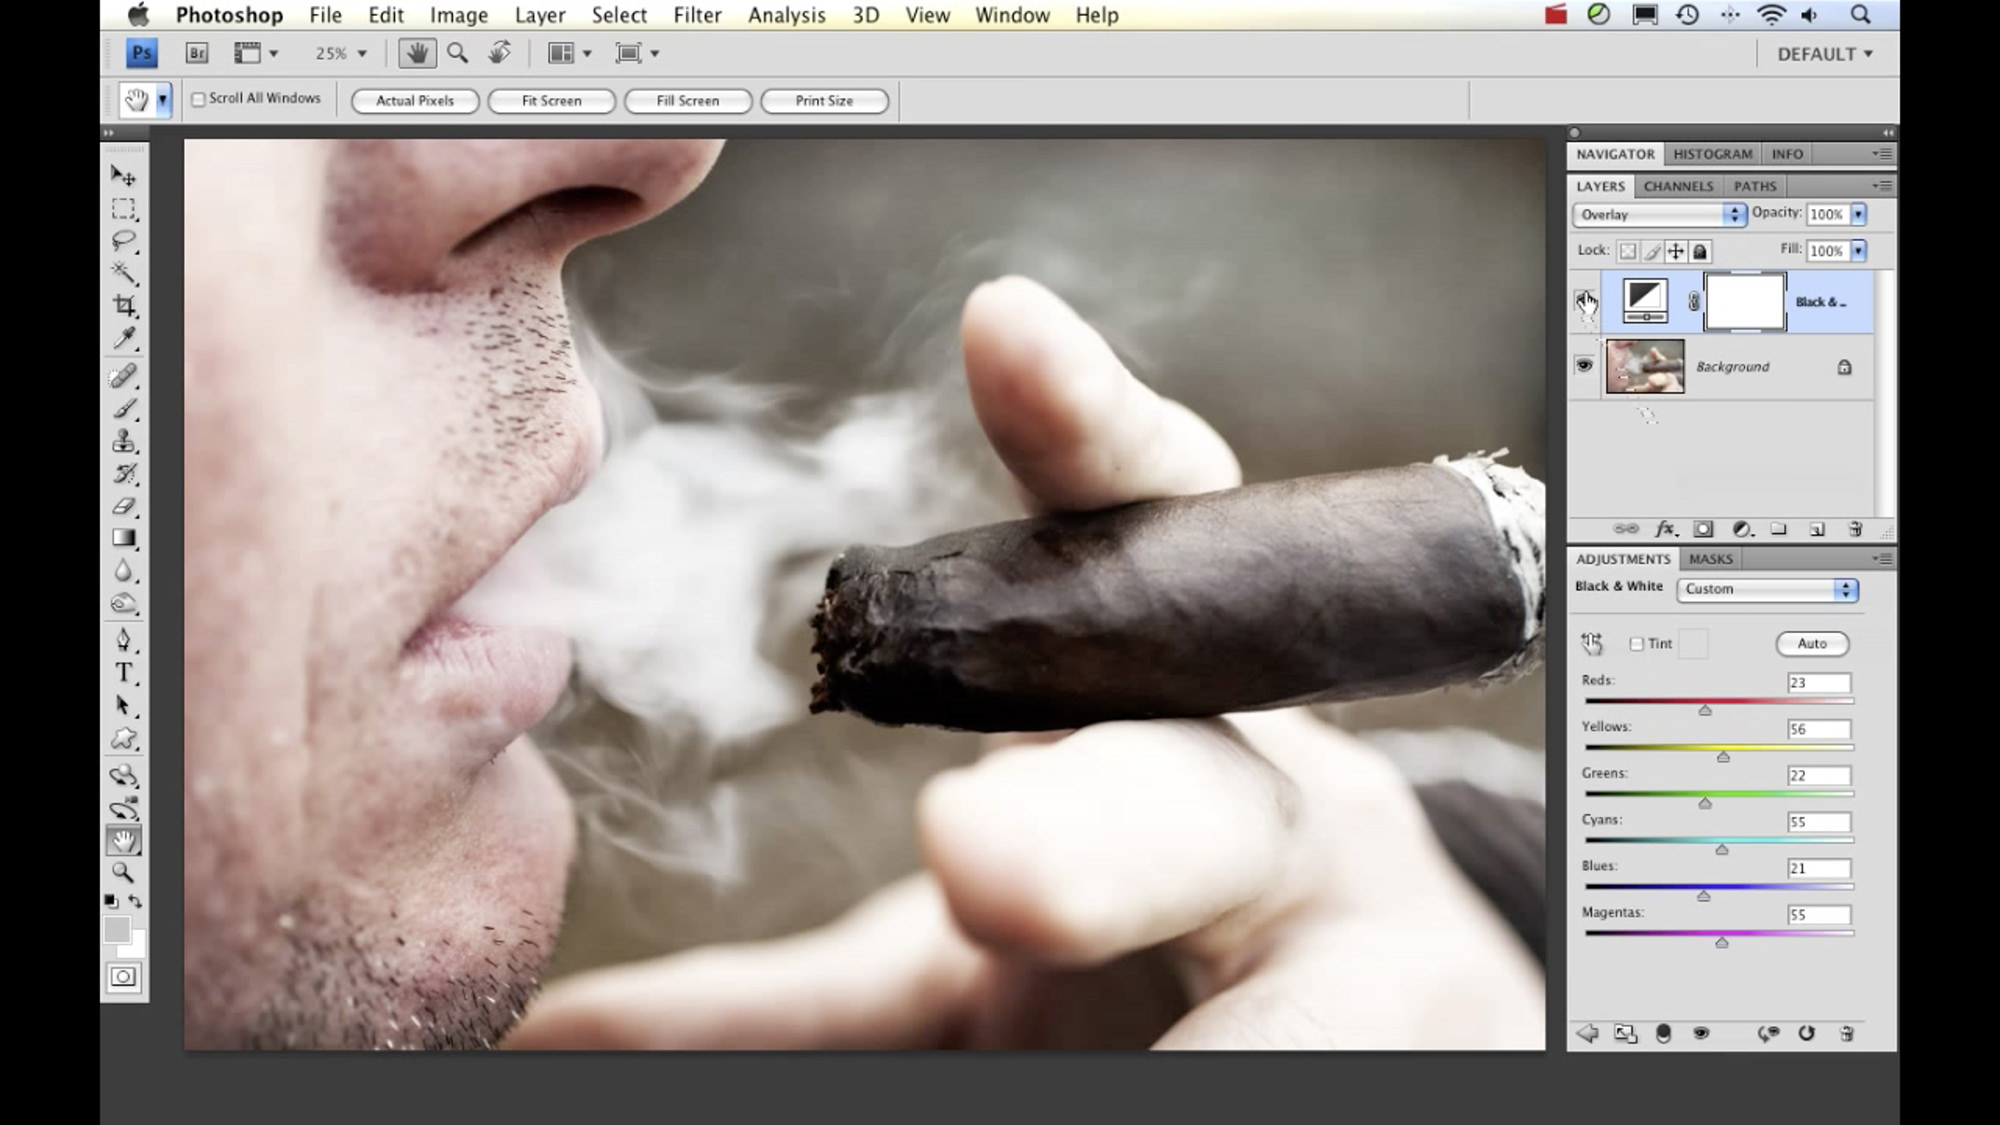
Here’s another “Two Minute Tip” on how to add a dramatic “punch” to your images using Photoshop.
Watch the Video
To view more Two Minute Tips video tutorials, please click here.
Here’s another “Two Minute Tip” on how to add a dramatic “punch” to your images using Photoshop.
Watch the Video
To view more Two Minute Tips video tutorials, please click here.

Nicole is a photographer, published author, and educator specializing in Lightroom, Photoshop, and photography. She is best known for her books on food photography but is widely versed in various photographic genres, including landscape, nature, stock, travel, and experimental imagery.


Hadn’t seen that one before. Thanks Nicole!
Nice tip Nicole. Even I can do this one.
I love these short Photoshop tips! Thanks so much for making these :)
Ha! I was just thinking about your original video of your husband smoking a cigar last night. I’ve been meaning to watch it again! Thanks, Nicole!
P.S. I love it when you’re on TWIP! Tell Frederick to have you on more often.
P.S.S. I had issues with your CAPTCHA. It displayed FEN3, but the audio said M47U.
I use a similar technique where I just duplicate a layer and switch to overlay. Then I use a layer mask to create a vignette with the gradient tool.
This has an interesting subtlety to it.